
Achieving a smooth finish on kitchen cabinets can transform your space and give it a professional look. Whether you’re refinishing old cabinets or painting new ones, the process might seem daunting at first. However, with the right steps and a little bit of patience, you can achieve stunning results. This guide will walk you through the essential steps needed to get that flawless finish.
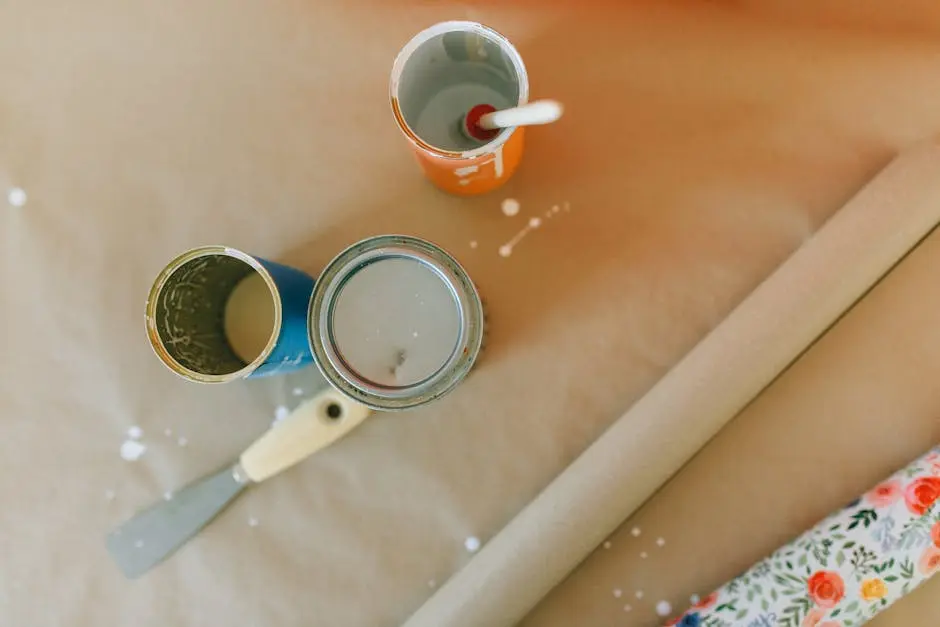
Step 1: Gather Your Supplies
Before starting the project, ensure you have all the necessary supplies, including sandpaper, primer, paint or stain, brushes, and a clean cloth.
In addition to these essentials, consider adding gloves and a mask to protect yourself during the process. A smooth finish truly begins with proper preparation.
Having the right tools on hand will make your job easier and more efficient. After all, no one wants to run back and forth to the store when inspiration strikes!
Step 2: Prepare the Cabinets
Remove any hardware and clean the surfaces thoroughly to eliminate grease and dirt, which can affect the finish.
Preparation plays a crucial role in the smooth finishing process. Take your time to ensure every nook and cranny is clean. Don’t forget to check for any old paint flakes or stains!
Once the cabinets are clean, consider filling in any dents or scratches with wood filler. This creates an even surface, making it easier for the paint to adhere uniformly.
Finally, lightly scuff-sand the surfaces using a fine-grit sandpaper after cleaning. This roughens the surface just enough for primer application while still maintaining a smooth overall texture.
Step 3: Sand the Surfaces
Use fine-grit sandpaper to gently sand the cabinet surfaces, ensuring to create a smooth base for the paint or stain to adhere to.
Sanding is an art in itself; the aim is not just to remove any imperfections, but to create a soft, smooth surface. Remember, too much pressure can create gouges, leading to more work later.
For those hard-to-reach spots, consider using a sanding sponge or a foam sanding pad. This will help ensure that your cabinets receive an even treatment!
Once you’re satisfied with the sanding, wipe the surfaces with a damp cloth. This removes any dust particles that could interfere with the smooth finish.
Step 4: Apply Primer
Applying a quality primer is essential. It helps in covering imperfections and improves the bond of the paint, resulting in a smoother finish.
When selecting your primer, ensure it is suited for the type of finish you plan to use. Oil-based primers work well for high-gloss finishes, while water-based primers may suffice for less glossy options.
Use a high-quality brush or roller for your primer application. This choice can significantly impact the end quality of your smooth finish.
Allow sufficient drying time for the primer. Skipping this step may lead to issues once you start applying the paint, ruining all your hard work.
Step 5: Paint or Stain
Choose the right type of paint or stain for your project, and apply it evenly using a brush or spray for the best results.
Painters often discuss the importance of the first coat. It acts as your base layer, enhancing the overall finish. Make sure to apply it evenly and allow it to dry completely.
Consider applying multiple thin coats instead of one thick layer. Thinner layers reduce the risk of drips and contribute to a more refined, smooth appearance.
For a perfect finish, lightly sand between coats using fine-grit sandpaper. This promotes adhesion between layers and can amplify the smoothness of your final product.
Step 6: Finishing Touches
After the paint or stain dries, lightly sand again and apply a topcoat for added durability and a perfect final sheen.
Choosing the right topcoat is critical to achieving a professional look. Water-based polyurethanes are great options for a durable, clear finish without yellowing.
As you apply the topcoat, take your time. A smooth application is key. A brush or spray method can work well, but be sure to follow the manufacturer’s guidelines for the best results.
Once the topcoat is applied, allow everything to cure fully. This period ensures that your cabinets not only look great but are also protected against wear and tear.
Final Thoughts on Smooth Finishing
In conclusion, achieving a smooth finish on your kitchen cabinets involves careful preparation, the right materials, and a few precise techniques. By following the steps outlined above, you can elevate the look of your cabinets and enjoy a beautiful kitchen for years to come.